
Logitech Spot Mounting & Placement Guide
Where to place Spot
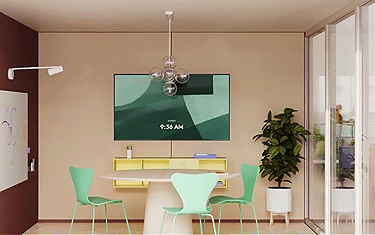
Select an installation location at a height between 1-1.8m (3.2-5.9ft) on a wall
Ensure Spot has clear line of sight to room occupants
Presence Sensor field of view: 120° horizontal, 100° vertical
Place away from doors and vents to avoid inaccurate readings
Do not place near windows - direct sunlight may interfere with temperature readings
Do not place behind displays (obstructs airflow and presence detection)
Do not place on whiteboards (use of whiteboard markers and/or harsh cleaning chemicals may affect reported sensor data e.g. VoC etc)
Two mounting options
Adhesive mount

Peel and stick.
Caution: adhesive is very strong and may damage some wall surfaces. Do not use it on porous surfaces; painted drywall, wallpaper or other delicate surfaces.
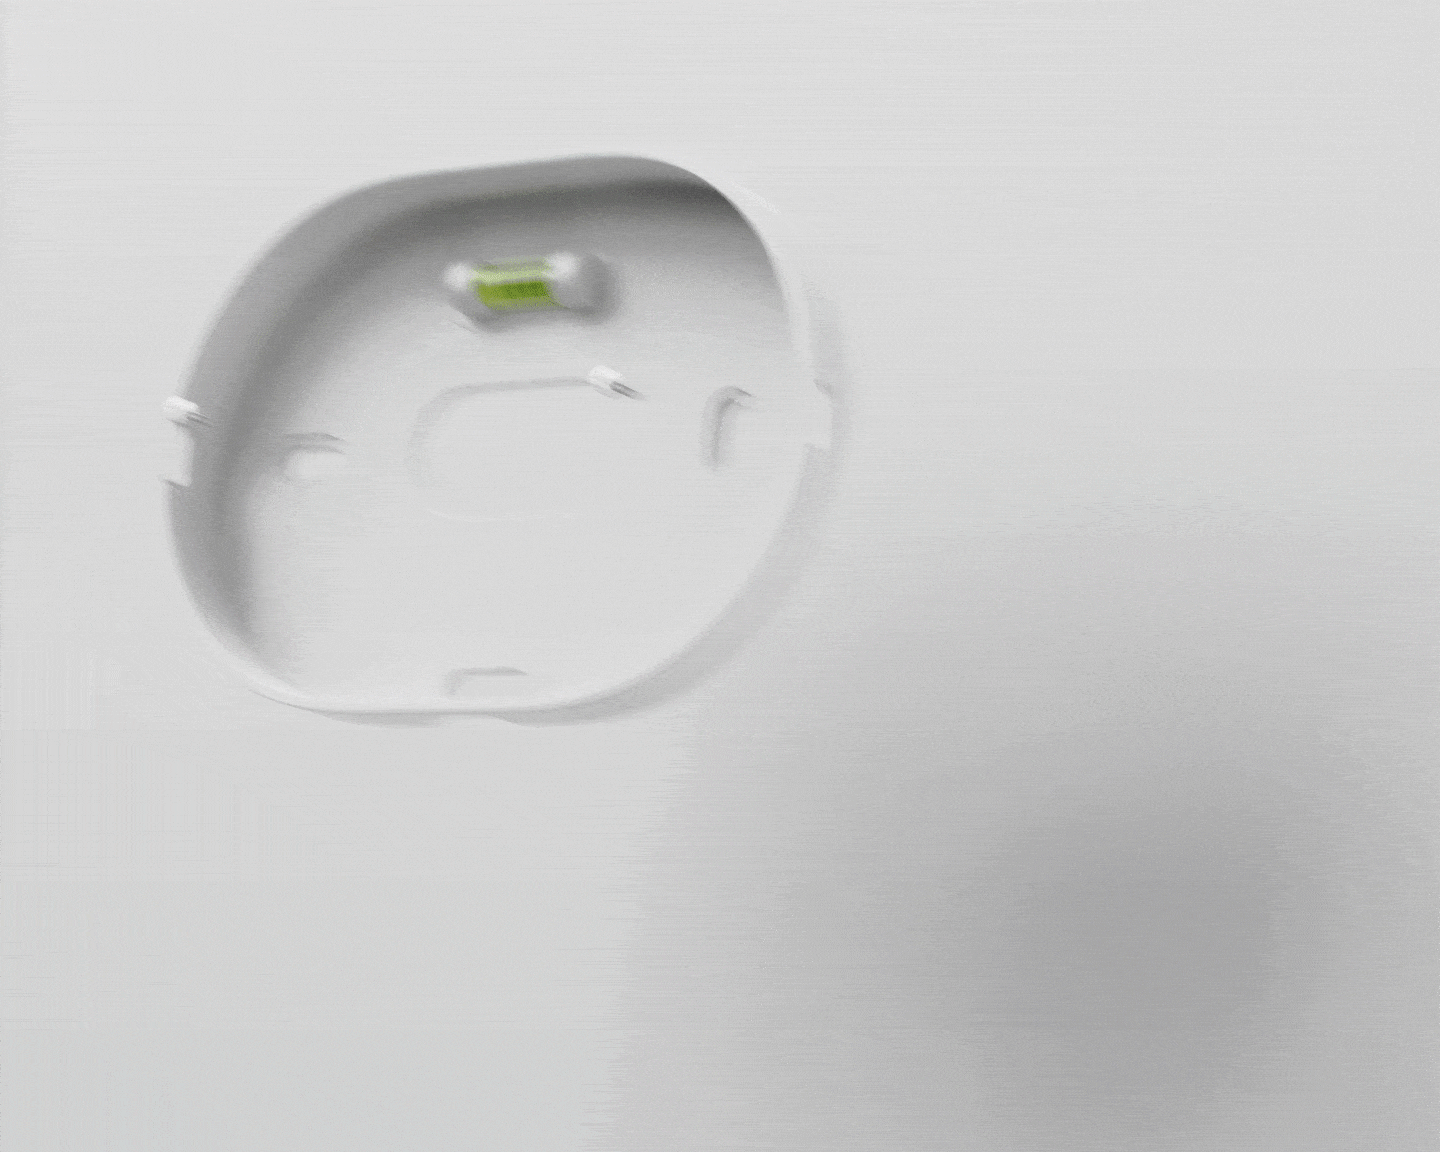
BEFORE PEELING, position the mounting plate to be level, using the built-in bubble level
Mark the placement with a pencil and the mounting plate screw holes
Peel off the adhesive backing film
Carefully position the plate with the pencil marks on the wall and stick to the wall
Apply pressure firmly on all areas of the mounting plate
Wait 20 minutes before attaching the Spot sensor to the mounting plate.
While waiting, this is an ideal time to pair / configure / update your device.
Attach the Spot sensor to the mounting plate.
Screw mount
DO NOT PEEL the adhesive backing film off. Leave this in place.
Position the mounting plate to be level, using the built-in bubble level
Mark the placement with a pencil and the mounting plate screw holes
Secure mounting plate to wall with the included included screws and anchors
If not already, complete the pairing / configuration of Logitech Spot.
Attach the Spot sensor to the mounting plate.