
How do I pair my mouse or keyboard to a new BOLT receiver ?
For Windows and macOS you can use the Logi Options+ app available for Windows or macOS to pair your device(s) to a Bolt receiver. For this pairing process, you will need to download and install Logi Options+.
Once installed, please select the ADD DEVICE button in the top right corner of the screen.
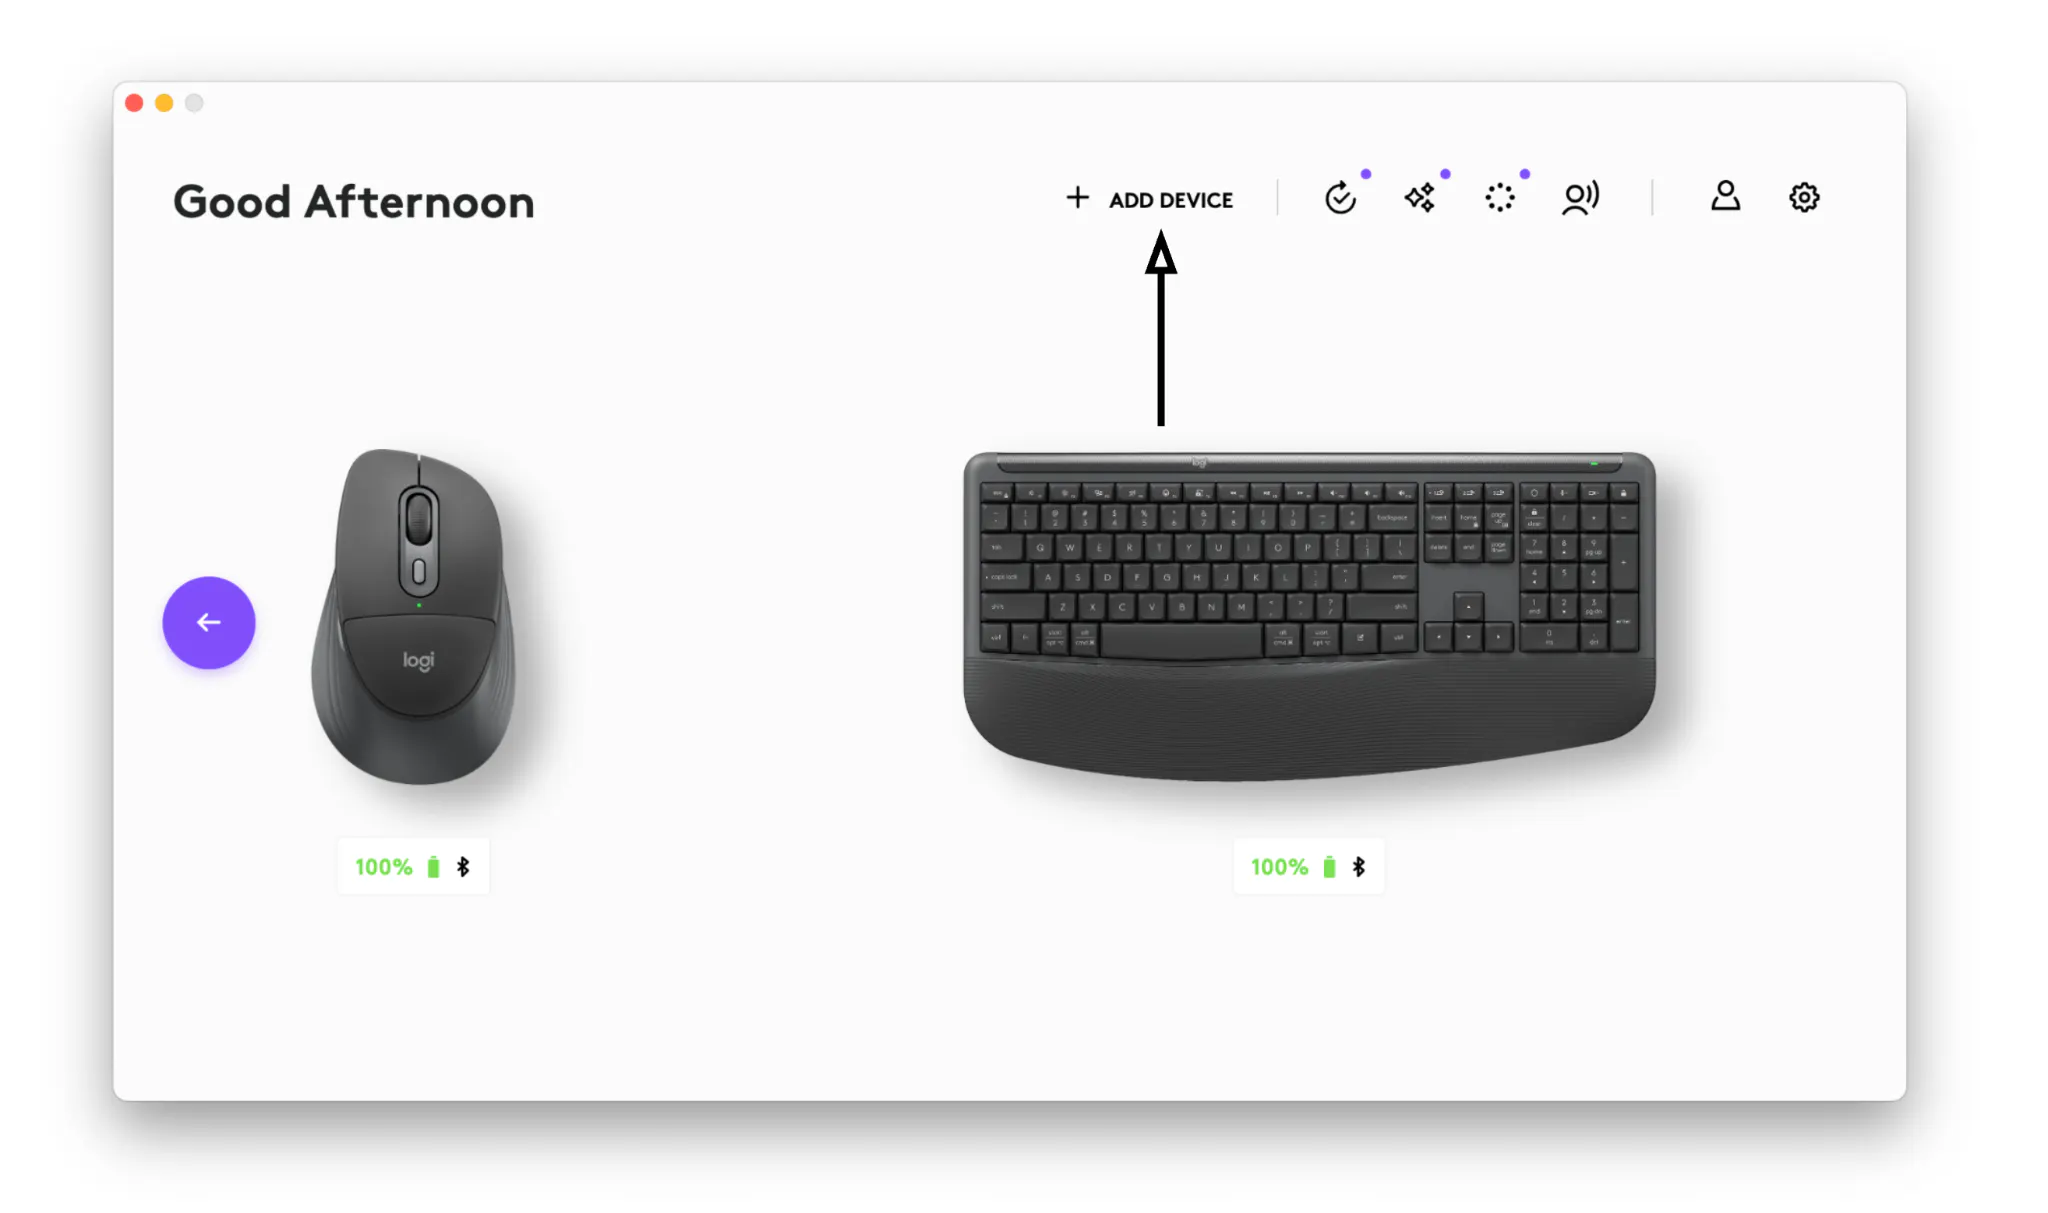
Then connect the Logi Bolt receiver to your computer, and select on the screen the Logi Bolt USB-C receiver.
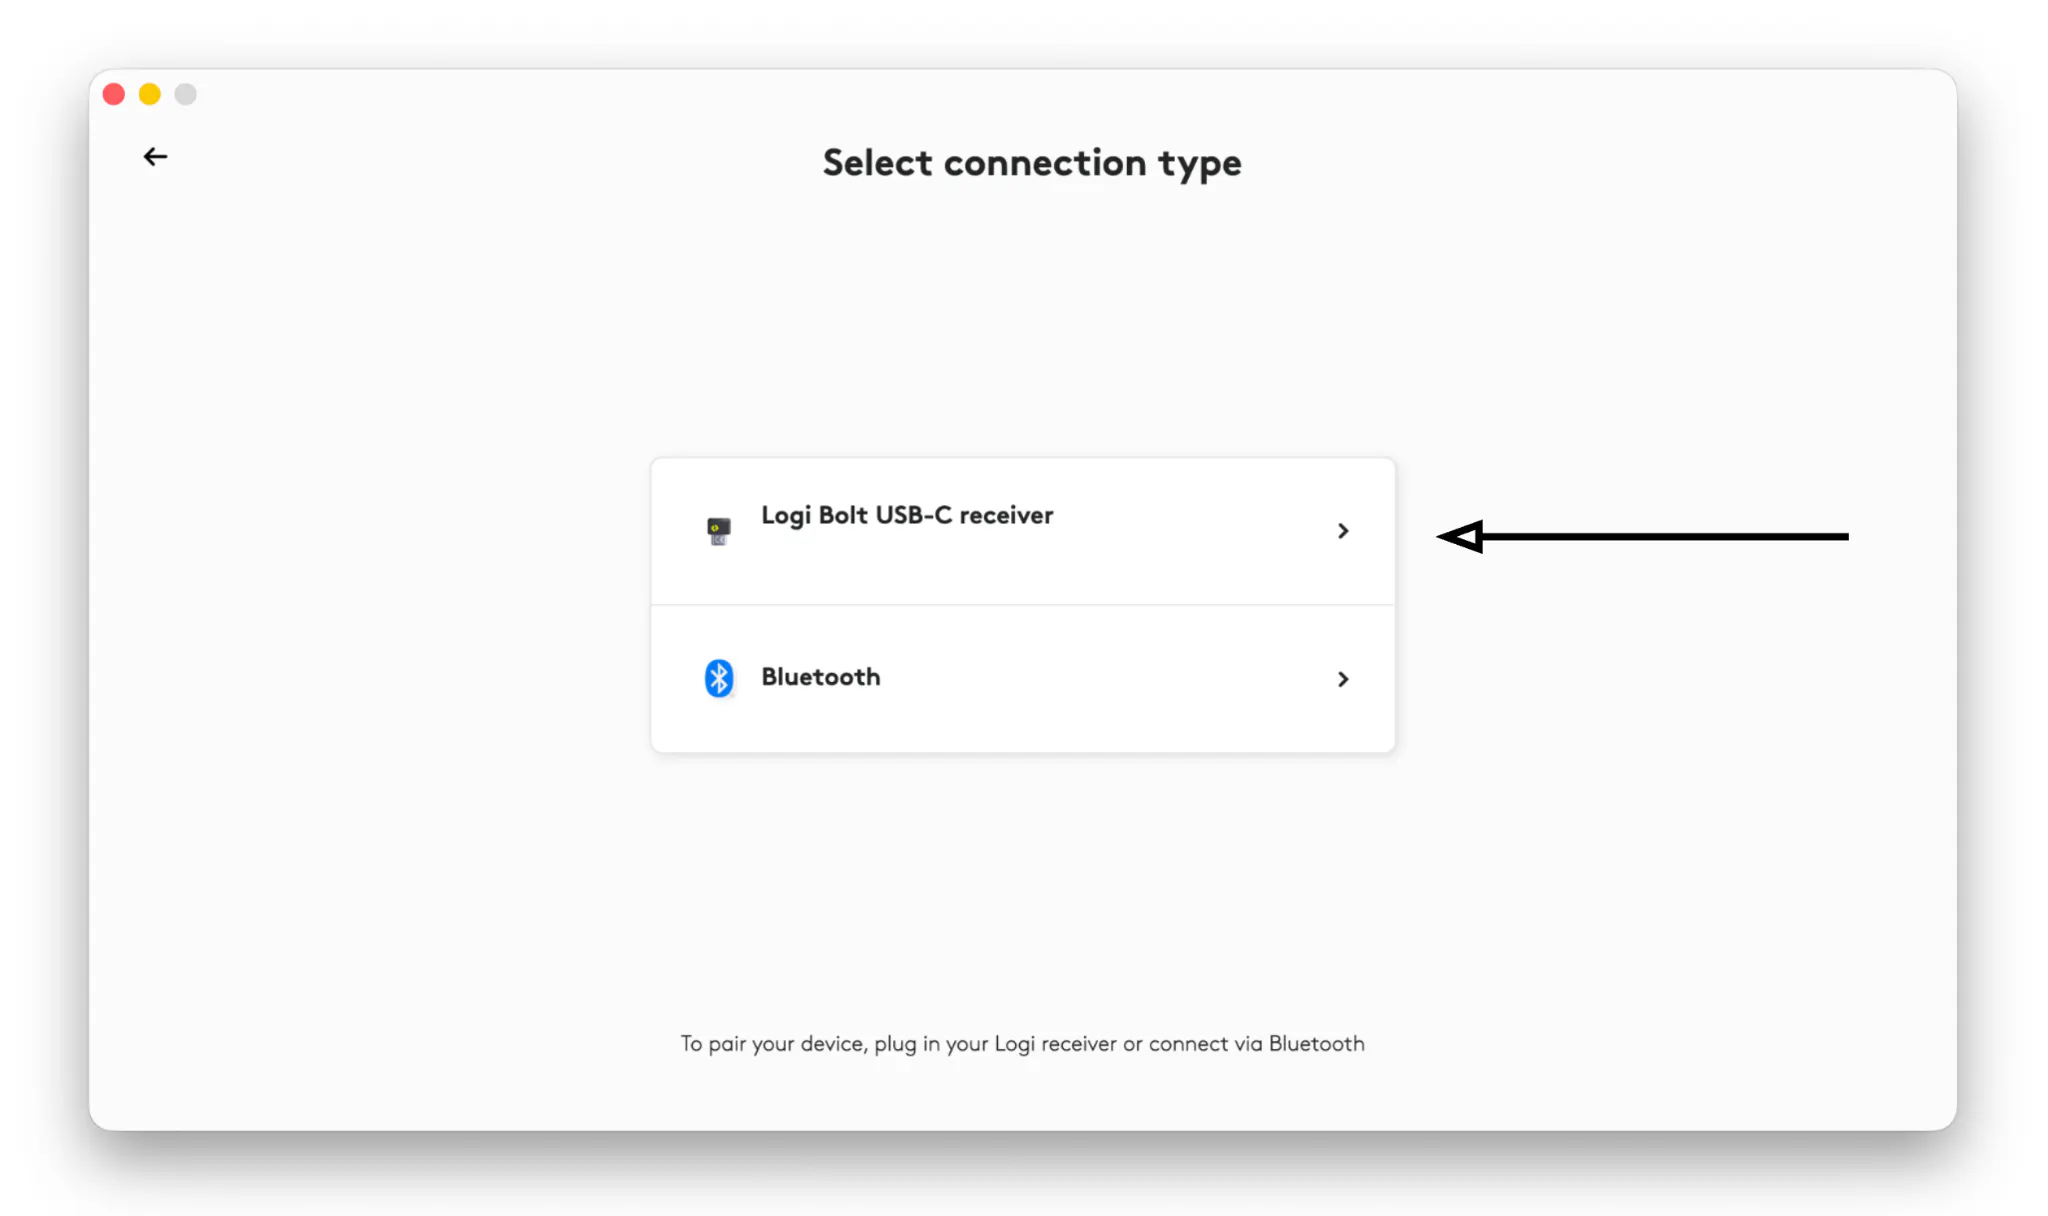
On your mouse, short press the connect button at the bottom of the mouse until the LED of the selected channel for connection will light up. Put the selected channel in pairing mode by long pressing the connect button until the LED starts blinking fast.
For your keyboard, short press the Easy switch channel key that you would like to assign the receiver to. You will see an LED light up on that key. To put it on pairing mode, long press the same key until you see the LED fast-blinking.
On the Option+ App, select the category depending on which peripheral you want to pair to your receiver:
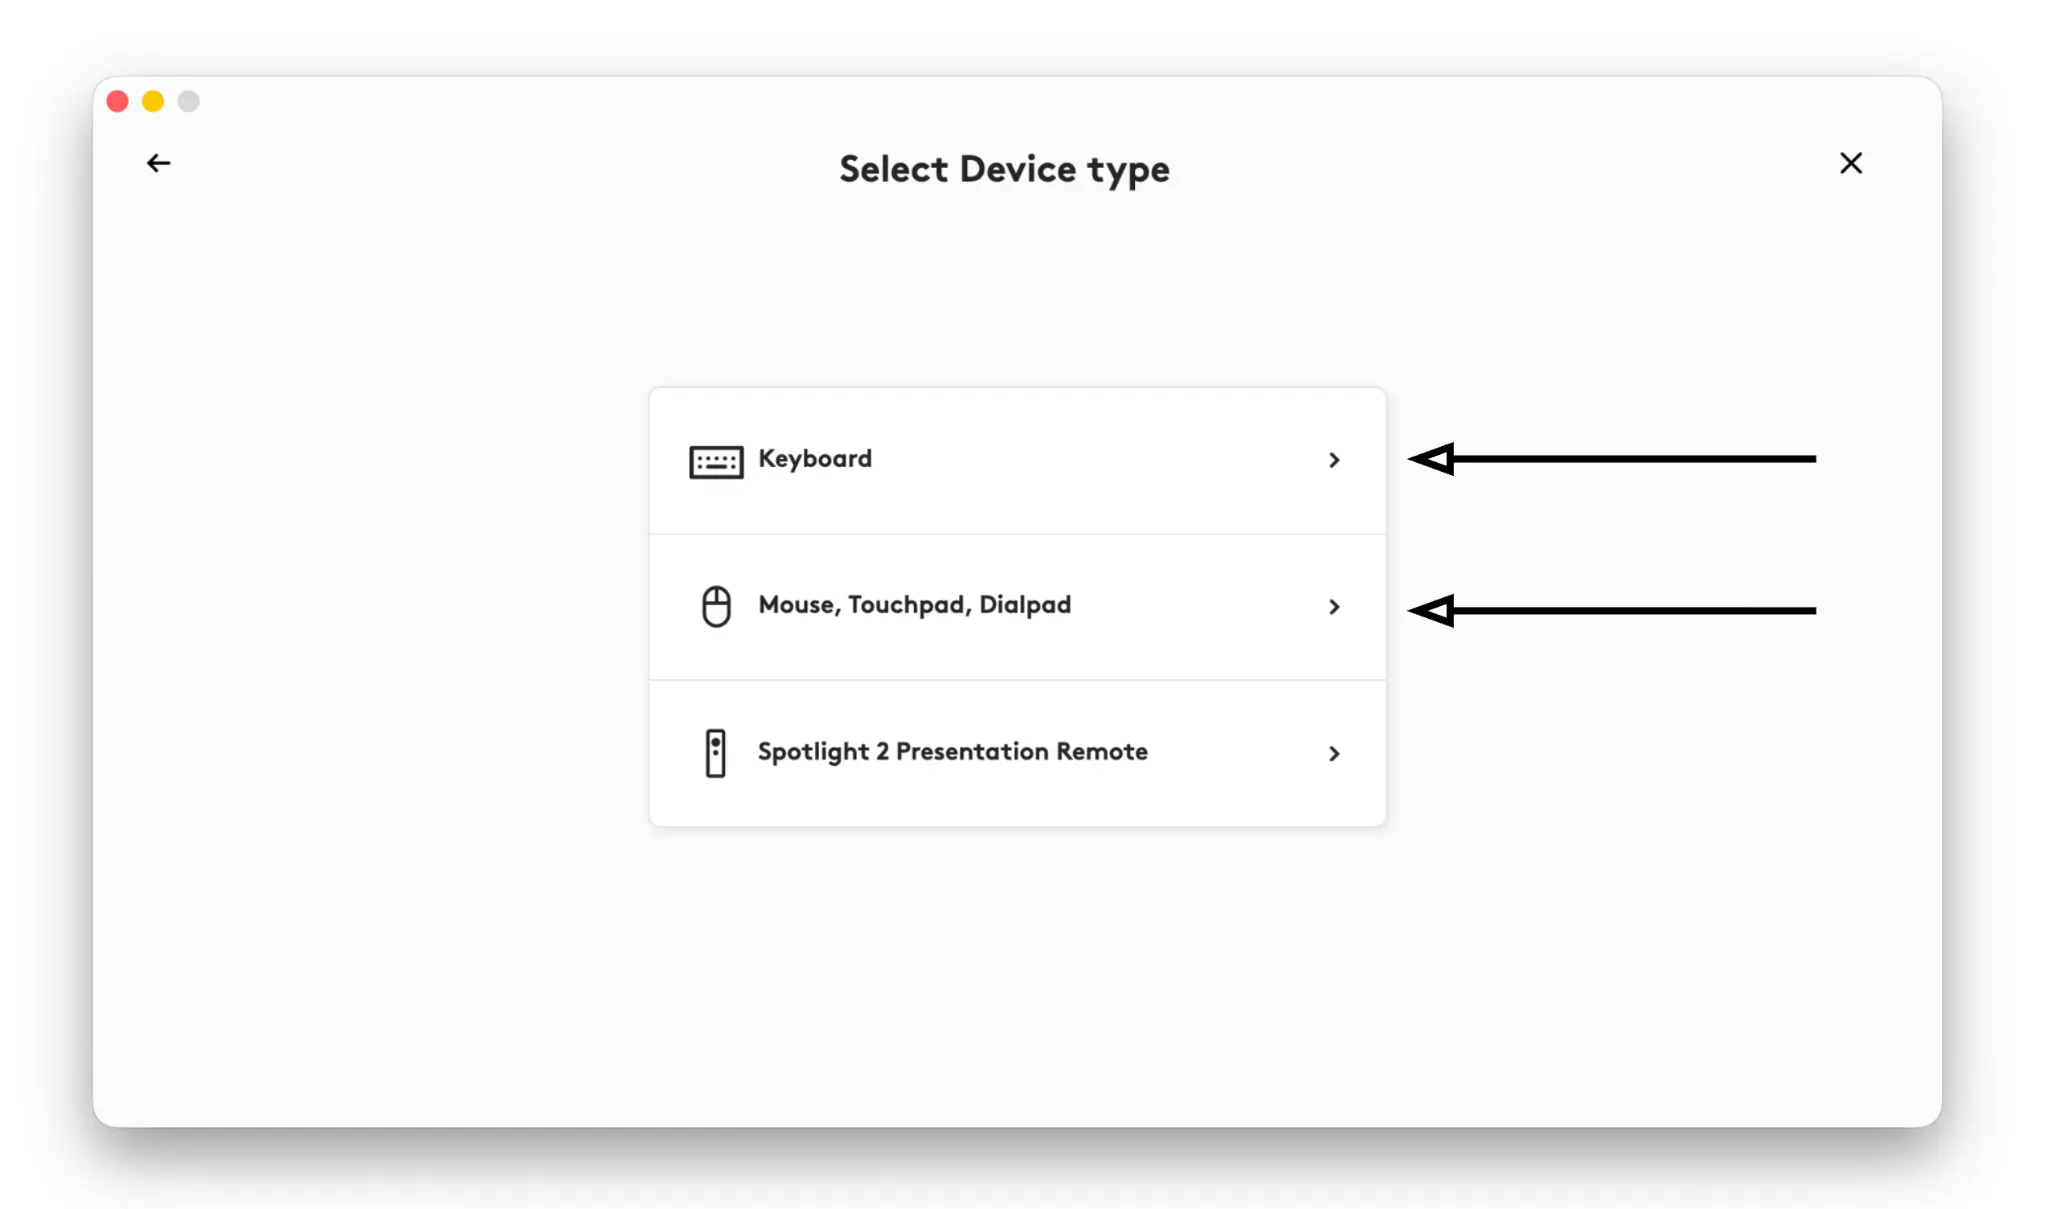
Select your peripheral on the screen. You’ll be requested to verify your device by pressing a random series of buttons from the mouse or a passcode on your keyboard:
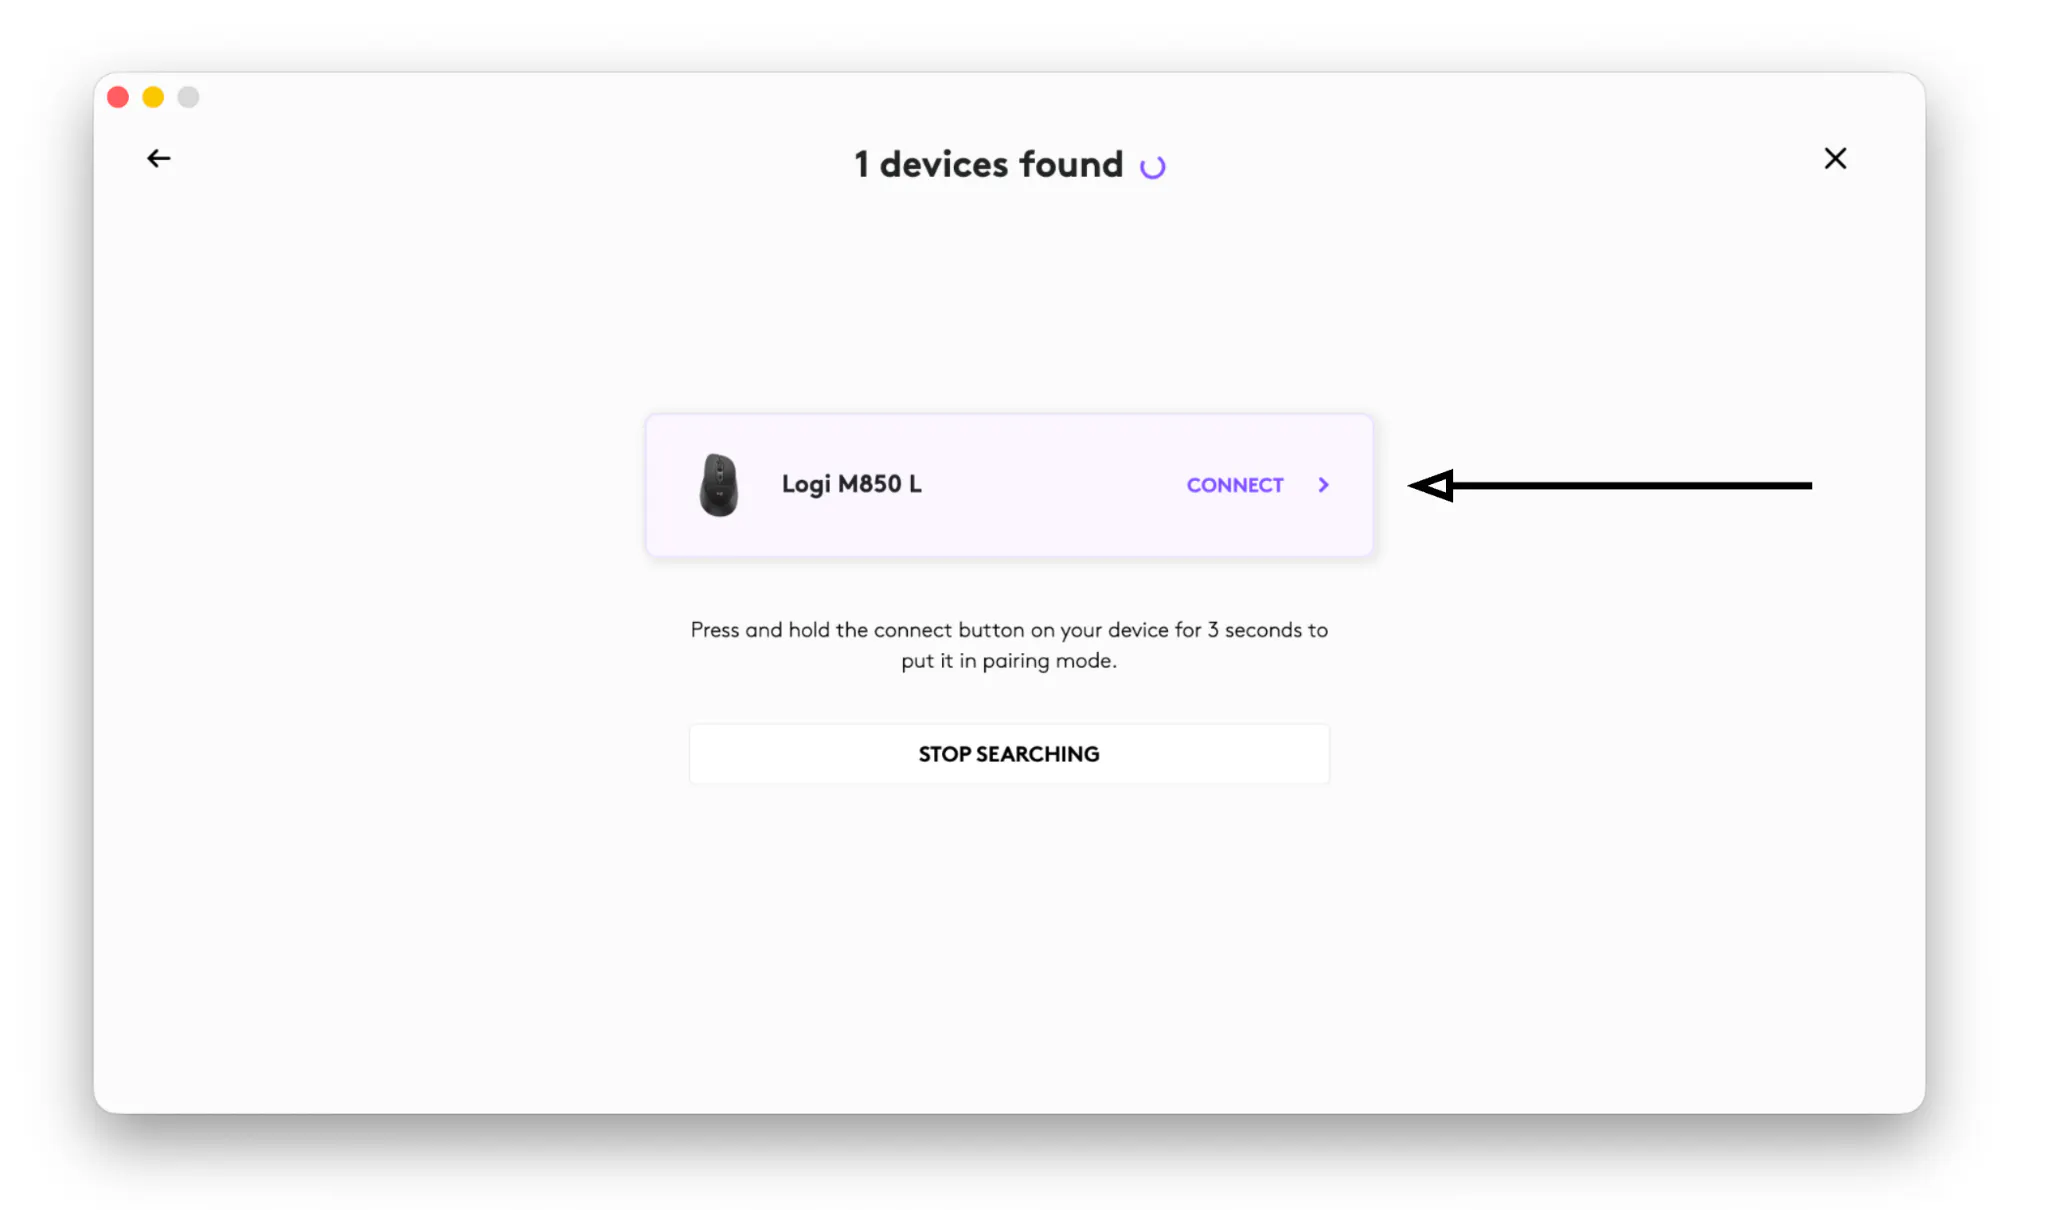
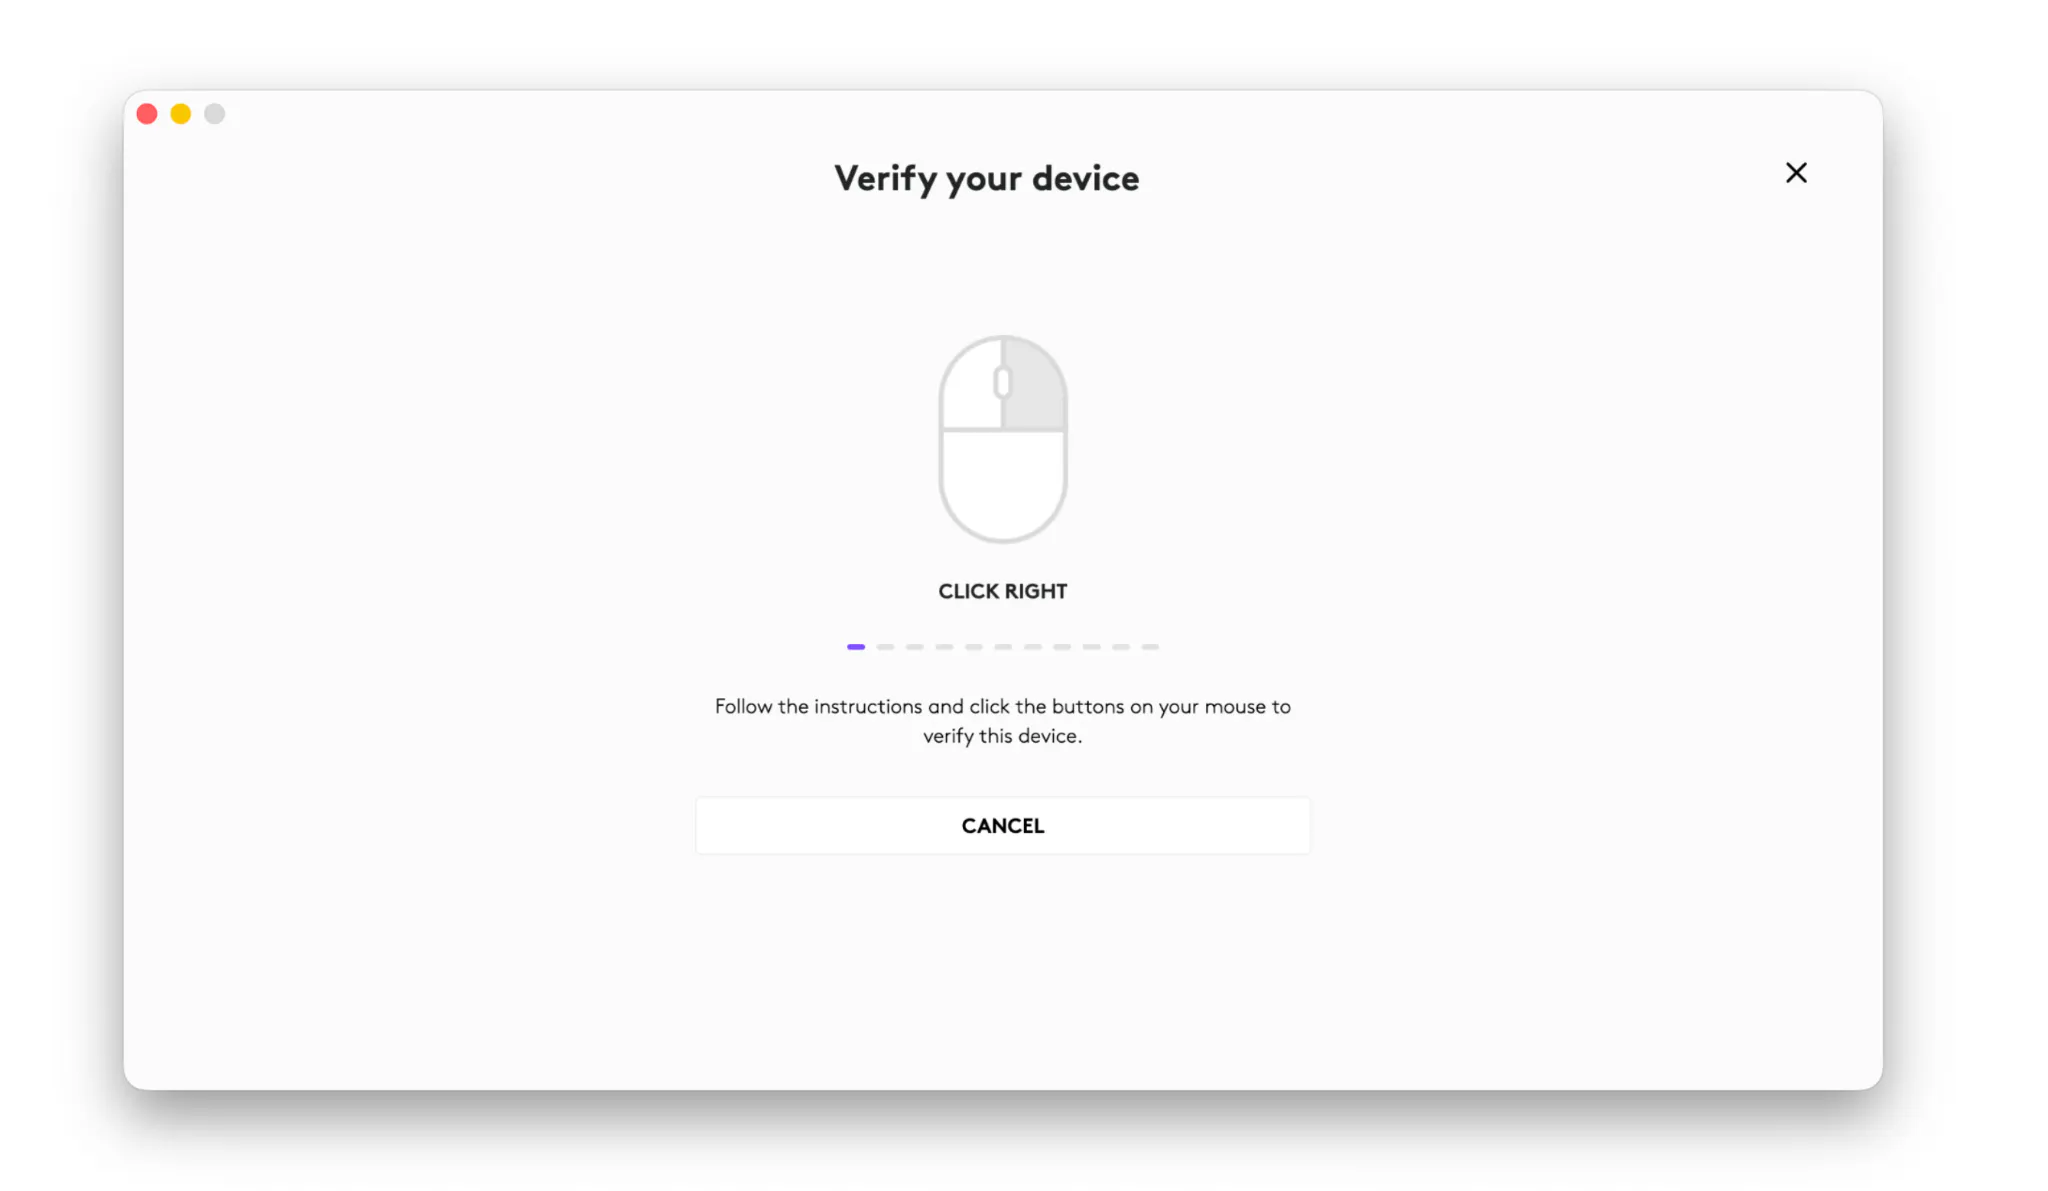
Once finished your mouse or keyboard will be ready to use.
For ChromeOS you can pair a new Logi Bolt receiver using this Web App tool. You’ll see a similar process as the one with the App to pair your peripheral on your Chrome computer.